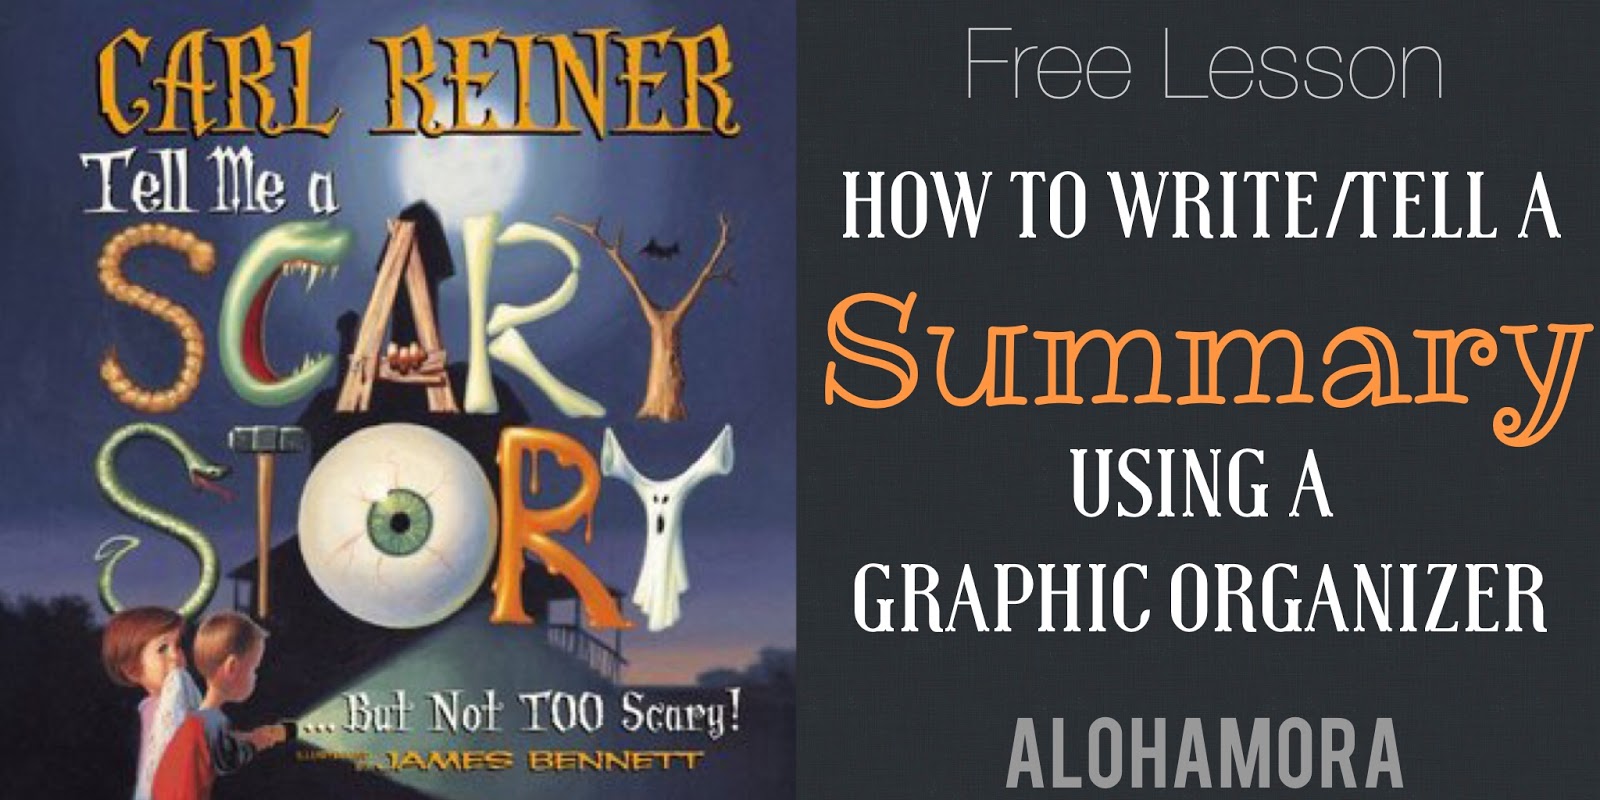
I just wanted to give y'all another free lesson using a picture book, and since it is Halloween time I used a fabulous Halloween-ish picture book.
This Summary Lesson is geared towards third (3rd) graders, but can be easily adapted to 2nd, 4th, 5th, or 6th grades. I know that almost every grade has some sort of curriculum objective geared towards telling and writing summaries using a variety of text.
Therefore, classroom teachers and school librarians... this is a great and easy lesson for you!
The lesson is all about using a graphic organizer to help retell and write a summary. I love graphic organizers b/c they benefit many different learning types and they help with comprehension.
A child with a comprehension learning disability could greatly benefit from visual graphic organizers such as this one..
All you need for this lesson is a great book, or text of any kind, and this Story Map pdf. How fabulous is that?
To save or print out the lesson click here.
To save or print out the Story Map pdf click here.
-------------------------------------------------------------------------------------------------
3rd
Grade-Summary lesson using a Story
Map/Graphic Organizer
Written
by/Copyright: Alohamora Open a Book http://alohamoraopenabook.blogspot.com/
Objective/What
Taught:
Writing-
Write summaries that include important
characters, setting, events, and details.
Reading- Use a variety of
before, during, and after reading strategies and processes to sustain
comprehension through increasingly difficult texts in a range of genres:
Summarize Text passages-
Respond orally and in
writing to fiction and non-fiction reading:
·
Identify
key words and phrases.
·
Use
details to construct a summary.
· Refer back to the text
to provide evidence for their thinking.
·
Include
characters, events, and some details from the beginning, middle, and end of a
story.
·
Identify
the setting (where and when), plot, main characters, problem, and solution in a
narrative text.
Materials Needed:
-
SmartBoard (Can use the pdf on a Doc Camera as well, or just draw the Story Map
on the board)
- Book: Tell Me a Scary Story… But Not TOO Scary! by Carl Reiner
Procedure/How Taught:
- I want to tell someone about the story I just read but I don’t have a lot of time. I can’t tell them everything, so what should I tell them? SUMMARIZE the story. Tell a shortened version of the story
- But… How do I
summarize? What do I do? Give bad example of summarizing.
a.
Is
this a very good summary of the story of Goldilocks and the 3 bears- a child
broke a chair.
1.
NO-
it doesn’t tell us if it’s a girl or boy, or whose chair is broken, or where
this chair was that it was broken. It
doesn’t really tell us very much of anything.
- A GOOD Summary includes the most important things but it’s still a shortened version of
the book.
- Then what are the
important things that I should include when I SUMMARIZE a story?
i. Main Characters
ii. Setting- where the story takes place
iii. Events that happen in the Beginning,
Middle, and End
- We are going to read/listen to the author read the story: Tell Me a Scary Story… But Not TOO Scary by Carl Reiner. (A lot of the books have a CD with the author reading the story which is fun, but you can also just read the story aloud)
- Show the Story Map on the SmartBoard/Doc Camera/Board
- During the story, I want you to be ready to help me with these 5 boxes so we can summarize the story when we are done.
- Review what each of the boxes in the Story Map means.
- Read/Listen to the story.
- Complete graphic organizer of characters, setting and what happened in the beginning, middle, and end.
- Use the story map to verbally give a summary of the book to the students.
- Using a graphic organizer like this Story Map can help us review the book and give a good summary of the story.
- Do you think we can do a Story Map for longer
chapter books?
- Can we do a Story Map for Non-Fiction books?
- Can we do a Story Map for anything we read? YES!
- Practice/review how we can verbally give a summary of the story using the Graphic Organizer.
How Assessed: Students will be able to complete a
Story Map Graphic Organizer together as class and then give a good summary of
the story using the Story Map.
Extension/Assignment: Have the students read a story on
their own or listen to one you read.
Then have them complete the Story Map independently.
----------------------------------------------------------------------------------------
Happy Summary Lesson using a Halloween book teaching!
MeganRuth


No comments:
Post a Comment